The clipper blade leaves a line. That line, the one running from the outer corner of the eye down toward the jaw, is what separates a dog that looks groomed from a dog that looks recently shaved. Between professional visits, the face is the first thing to go fuzzy and the first thing anyone notices. A full body of neat work can be undone by a muzzle that has drifted into a shaggy wedge.
Face trims on dogs are a different craft from body clipping. The skin is thin, the anatomy is close to the surface, and the animal is looking directly at the tool. Most of the skill lives in the setup and the restraint, not in the cutting. A person who can run a clipper over a back has not automatically learned how to shape a stop.
What follows treats the dog face trim as its own job, with its own tools, its own geometry, and its own rules about where a blade is allowed to go. The goal is a face that holds its shape for the weeks between appointments, not a show-ring finish.
The Face Has Zones, and Each Zone Takes a Different Tool
Groomers tend to think of the face in three bands. The first is the clean band: the bridge of the nose, the top of the muzzle, the area just under the eyes, and the chin. This is the territory of the clipper, run with the grain and kept short. The second is the transition band, where the muzzle hair meets the cheek and the neck. This is where shape is decided. The third is the detail band: the inside of the ears, the corners of the mouth, the hair between the paw pads of the front feet, the fringe around the eyes.
Mixing the tools across these bands is the most common reason a home trim looks wrong. A clipper pushed into the transition band creates a hard shelf. Scissors taken onto the bridge of the nose leave a soft, uneven fuzz that reads as scruffy within days. The bands want different instruments, and the line between them should be managed with a comb, not a blade.
Clipper Work on the Muzzle: Short, Cool, and Slow
The muzzle and the area under the eyes are usually taken with a #10 blade, the same length most groomers use for sanitary work. A #10 leaves roughly a sixteenth of an inch, which is enough to look intentional and short enough to stay clean for two or three weeks. A #15 or #30 is too close for most home work on a wiggling dog; the risk of a nick outweighs the tidier look.
Blade temperature matters more on the face than anywhere else. A clipper run for several minutes on a dense coat heats up, and the skin on a muzzle is thin and quick to register heat. A common approach is to keep a second, cool blade on hand and swap when the first one warms, or to rest the clipper every few minutes. The dog will tell a handler when a blade is too hot by pulling away, and that signal is worth respecting.
Direction of cut on the muzzle runs with the hair growth, from the nose back toward the eyes and down toward the chin. Running against the grain on a muzzle can leave a patchy look and can irritate the skin. The clipper is held flat against the surface, not angled into it, and the dog's head is stabilized from underneath with the free hand. A muzzle held gently closed with a thumb and forefinger is a standard grip for this zone, and it keeps the tongue and lips out of the path.
Scissor Work Around the Eyes and Stop
The hair that falls over the eyes and the fringe on the stop, the dip between the eyes and the muzzle, is scissor territory. A straight pair of grooming shears with a blunt tip is the safe choice; pointed shears have no place near a dog's eye. The hair over the eyes is combed forward, held between the fingers, and trimmed in small increments, checking after every few cuts.
The most reliable technique for the eye area is to comb the fringe down over the eye, pinch it between the index and middle fingers, and cut just above the fingertips. The fingers act as a guard and as a guide. The cut is made with the tips of the shears, not the full blade, and the dog's head is held still by an assistant or by bracing the chin against the handler's body.
The stop itself wants a light touch. Too much taken off the bridge leaves a harsh, planed look. A few passes with the shears to clear the hair that pokes up between the eyes is usually enough. The shape of the stop should follow the bone underneath, which means the cut is often slightly curved rather than flat.
Shaping the Cheeks, Ears, and Chin
The cheek and the area under the ear determine whether the face reads as round, square, or tapered. On a poodle or a bichon, the goal is a rounded, full cheek that flows into a rounded topknot. On a schnauzer, the cheek is squared off with the beard left long. On a spaniel, the cheek is blended into the ear leather with a thinning shear.
Thinning shears are the tool for blending the transition band. They remove bulk without leaving a visible line, and they are forgiving of a slightly uneven hand. A few passes from the cheek down toward the jaw, working with the growth, soften the edge left by the clipper. The temptation is to take too much at once; the better habit is to comb the hair out, take a small pass, comb again, and reassess.
The chin and the beard are shaped last, after the cheeks have been set. The beard is combed down and forward, then trimmed to the desired length, with the corners of the mouth cleared of stray hairs. On breeds with a long beard, the line of the jaw should be visible through the hair, and the beard should hang straight rather than flare out at the sides.
The Ears and the Inside of the Mouth
The inside of the ear flap is often plucked or trimmed, depending on the breed and the groomer's preference. A small clipper with a #10 blade can clear the hair on the inside of the flap on breeds that need it, and the ear canal itself is left to a veterinarian. The hair at the base of the ear, where it meets the head, is blended with thinning shears so the transition from ear to cheek looks continuous.
The corners of the mouth collect hair that gets wet and mats, and a small pair of blunt-tip scissors is the tool for clearing it. The lip is held gently away from the gum line, and the hair is cut in short snips. This is a two-person job on most dogs, and a dog that dislikes having its mouth handled is better left to a professional for this part.
Restraint and the Dog's Comfort Decide the Result
A dog that is tense produces a bad trim regardless of the tool. The face is the most handled part of the body, and most dogs have opinions about having their muzzle held. A handler who rushes the setup will spend twice as long fighting the dog. The better sequence is to let the dog settle, to handle the face without tools for a minute, and to work in short sessions with breaks.
On a dog that struggles, a groomer's helper, a grooming loop, or a second pair of hands makes a real difference. The dog's head should be supported from below, never gripped tightly around the muzzle for long periods, and the clipper should be switched off and set down whenever the dog needs a pause. A face trim done in three calm passes beats one done in a single tense one.
Cleaning Up the Paw Pads and the Hygiene Clip
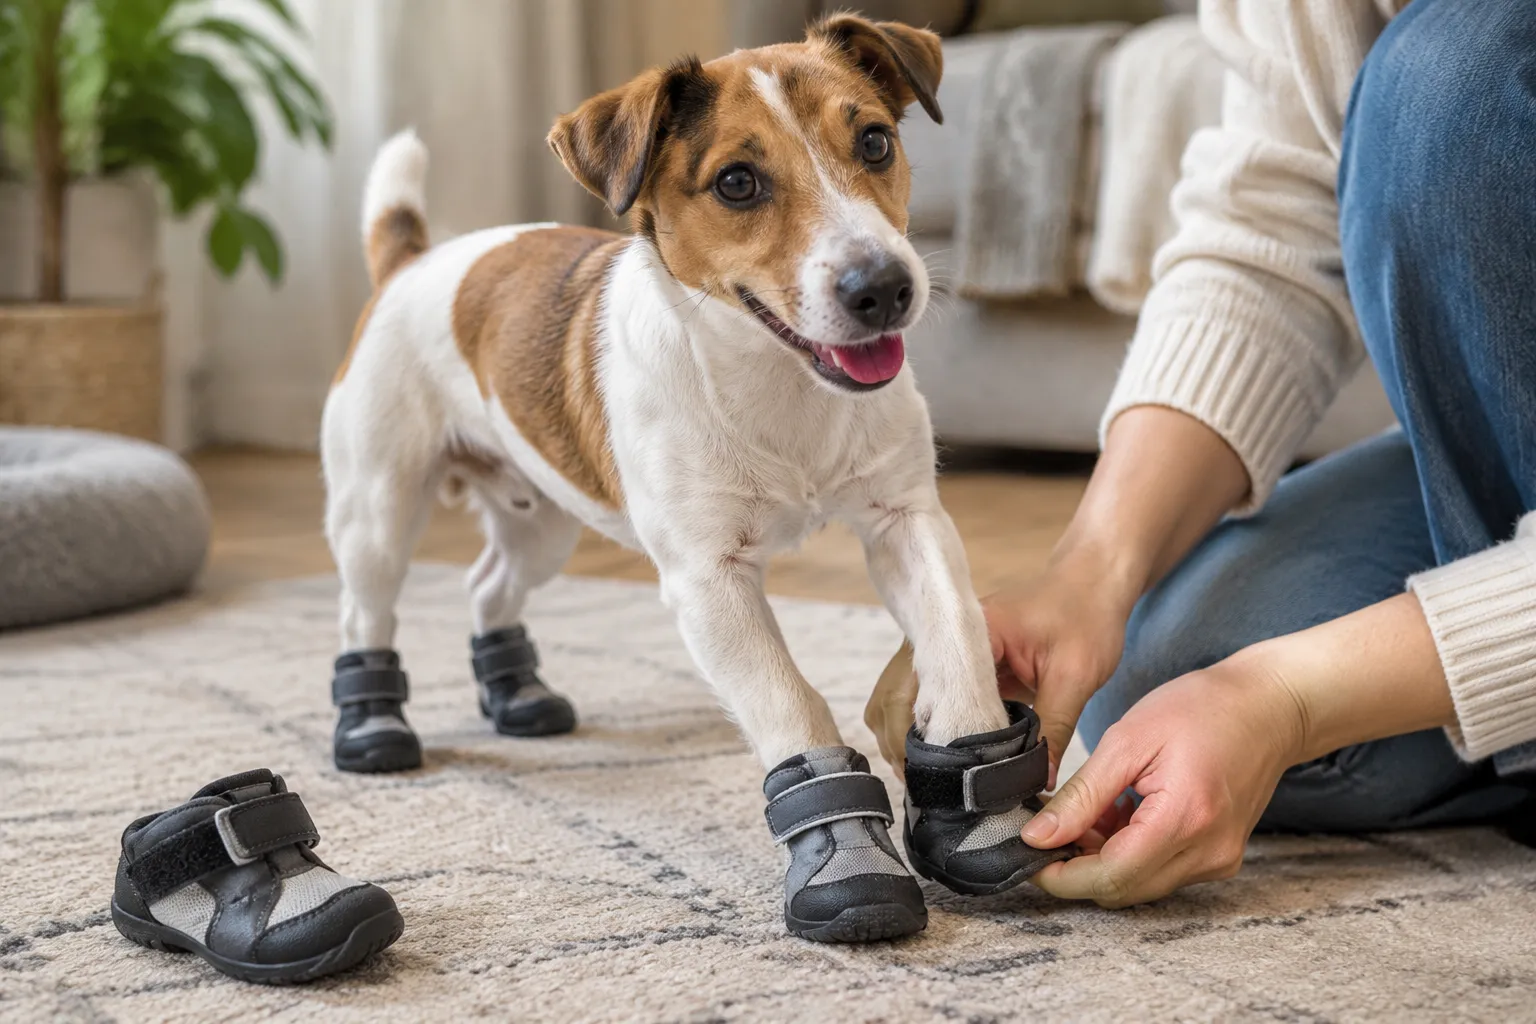
The face trim is the headline, but the hygiene clip around the rear and the paw pads belongs to the same maintenance routine. Hair growing between the pads collects grit, holds moisture, and turns into small mats that make walking uncomfortable. A small clipper with a #10 blade, run between the pads with the foot held firmly, clears this in a minute or two per foot. The hair on top of the foot is trimmed to match the shape of the foot, not cut flat across the toes.
The sanitary clip on the belly and around the rear is usually done with the same #10 blade, kept short and clean. This is the area most likely to be neglected between appointments and the area where mats form first on a long-coated dog. A few minutes of clipper work here extends the life of the full groom by weeks.
The Line Between Maintenance and a Full Groom
A home trim can hold a dog's face for three to four weeks on most coats. The clipper work on the muzzle, the scissor work around the eyes, and the blending on the cheeks cover the visible drift. What it cannot do is reset the coat structure, correct a bad shape from a previous groom, or handle a dog that fights the clipper. Those jobs belong in a salon chair.
The practical rule is that a home trim maintains a shape that already exists. If the outline is good after a professional groom, a person can keep it alive with a #10 blade, a pair of blunt-tip shears, a comb, and twenty minutes every other week. If the outline is already lost, the home tools will only make the drift more visible.
A Short List of Tools That Earn Their Place
A #10 clipper blade, a small clipper body light enough to hold for twenty minutes, a pair of blunt-tip straight shears, a pair of thinning shears, a metal comb with fine and coarse teeth, and a second cool blade. That is the kit. A guard comb is useful on the body but has little place on the face, where the lengths are too short and the shapes too specific.
The one item worth adding is a good pair of curved shears for the topknot and the cheek on round-faced breeds. The curve follows the shape of the head and makes a rounded finish easier to achieve than a straight blade. It is the tool most home groomers skip and the one that most improves a round face over time.
When the Face Trim Goes Wrong, the Fix Is Usually a Comb and Patience
A slightly uneven cheek or a stop that got taken a little short is rarely a disaster. The hair grows back, and the next pass can correct the line. What does not recover easily is a dog that has learned to fear the clipper, or a patch of skin nicked because a blade was pushed too hard into a fold. The fix for an uneven cut is to comb the hair out, look at the whole face from a step back, and take small passes until the shape reads correctly.
The face that holds its shape between appointments is built from three habits: a cool blade, a comb that is used more than the shears, and a dog that is calm enough to stand still. The tools matter less than the order in which they are used. A clipper that stays on the muzzle, shears that stay on the fringe, and thinning shears that blend the seam will keep a good cut alive for weeks, and the dog will walk into the next appointment looking like the last one was yesterday.